Edited to add this photo
Hi everyone, Happy New Year to you!
Quite a few people have asked how I make these pretty little bows that I use on pin keeps and pillows, in fact they can be used to trim most cross stitch or sewing projects.
I used the same bow on this pin keep, all I did was put the pin through the top of the finished bow to give this effect.
You will need a length of ribbon, I won't say what size because that would depend how big you would like the bow to be.
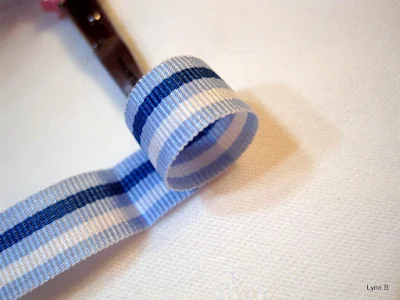
Take one end and curl it on itself, I have used scissors so that my fingers don't get in the way!
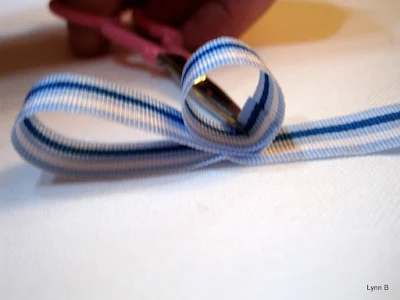
Just follow the photographs!
Curl the ribbon back on itself
Keep curling the ribbon on itself until you get the desired amount of loops.
Put a pin through the middle to hold in place.
Cut two strands of ribbon for the bow
Pin in place
Stitch together with small stitches that do not show through.
I usually stitch my bows to my projects but you can glue them with fabric glue if you wish.
And there you have it, a pretty little bow for any of your projects.
You can use any size of ribbon, the result is always the same.
Happy bow making!


8 comments
Thanks for the instructions for bow making!
Thanks for the tutorial. It looks easy!
Hi Lynn,
Thanks so much for taking the time to share this.
It's a great tutorial and will make bow making a lot easier for me!
Margaret
Beautiful! Thank you for sharing :)
Gracias por compartir el tutorial del lazo o moño. Saludos desde México.
thank you it is very pretty
So cute... I am a lover of bows... they look so feminine and can transform any ordinary thing into a special one... very beautiful.... I am going to follow and as well as subscribe you too
Hope you would like to spare a little bit of your time for me sure you will enjoy
http://craftaworld.blogspot.com/
Love
Farah
Thank you for this wonderful tutorial. I am the world's worst bow maker and this makes it look so simple.
Post a Comment